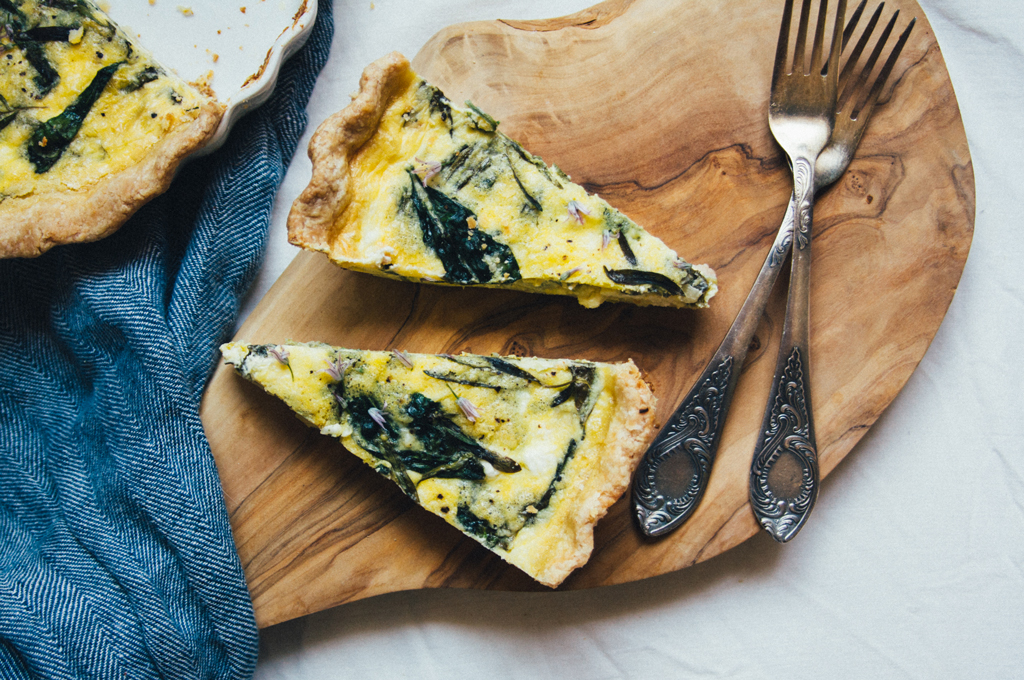
Spring Quiche
 Many quiches (or quiche-like pies, I should say) were harmed in the making of this post and I’m proud to finally have something delicious for you today! I probably tested enough quiches to feed a small family for about a month, just to get it right, and while it’s not something that’s hard to make, there are a few tiny details that I learned can make a huge difference. But before we get to the quiche, I’d like to share a few more things that I’m celebrating today!
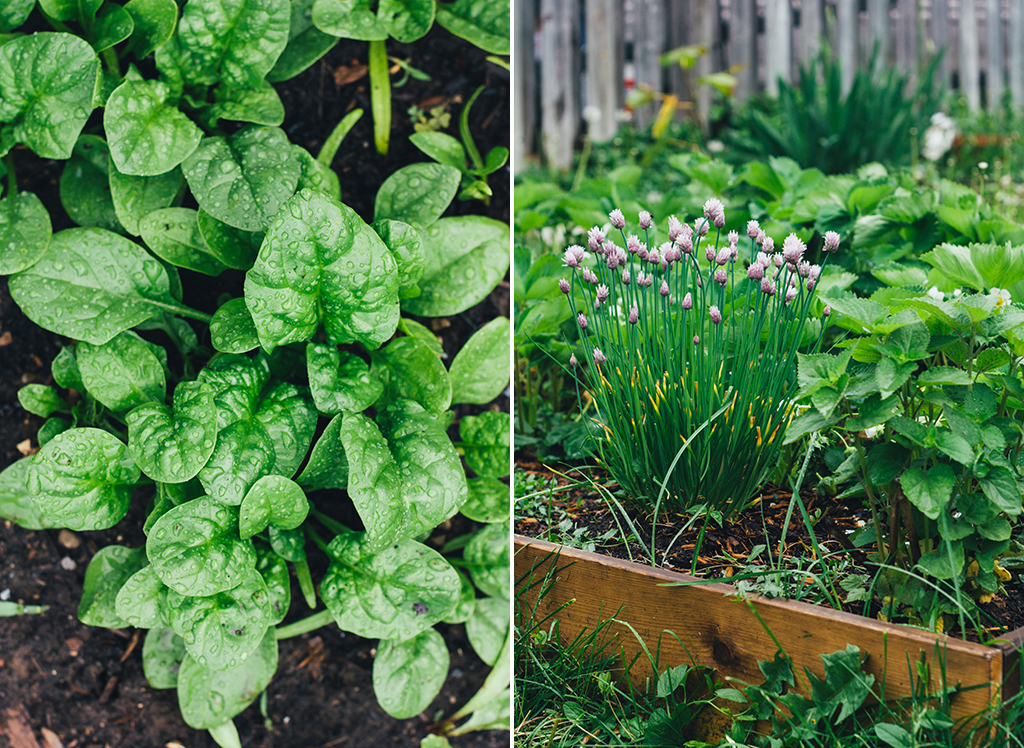
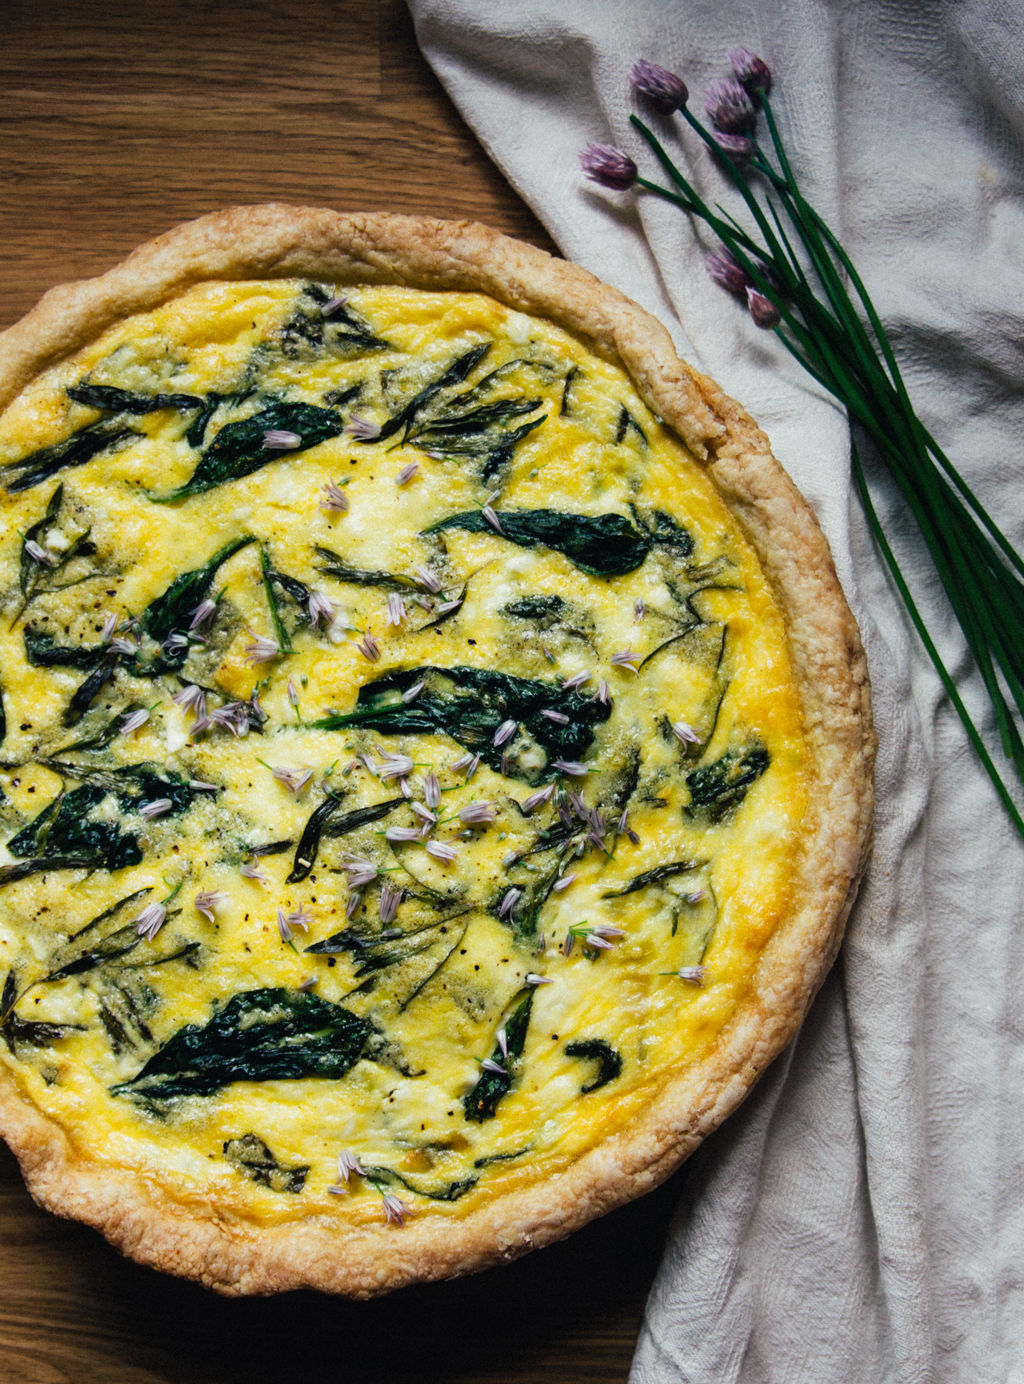
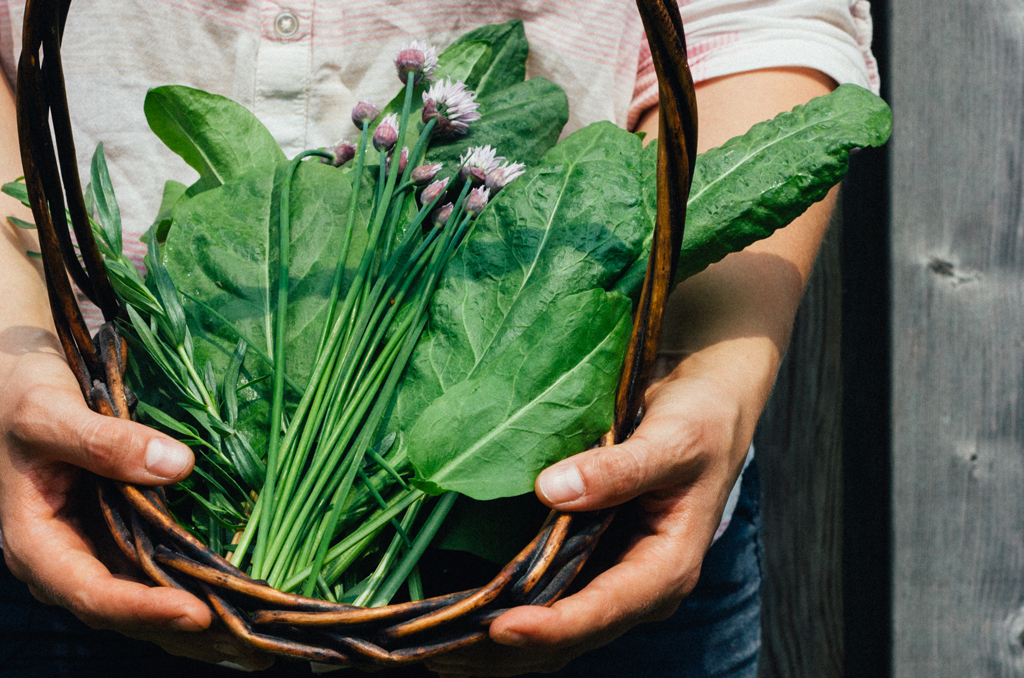 My garden finally came back to life this month and all the early greens and herbs (baby spinach, sorrel, tarragon, chives) have inspired the filling for today’s spring quiche. Learning how to grow fruits and vegetables in the back yard has been the most rewarding experience and I always welcome spring with so much anticipation, especially when it comes to cooking.
Most importantly…. there’s a VERY special new friend in my kitchen! Can you guess who it is?
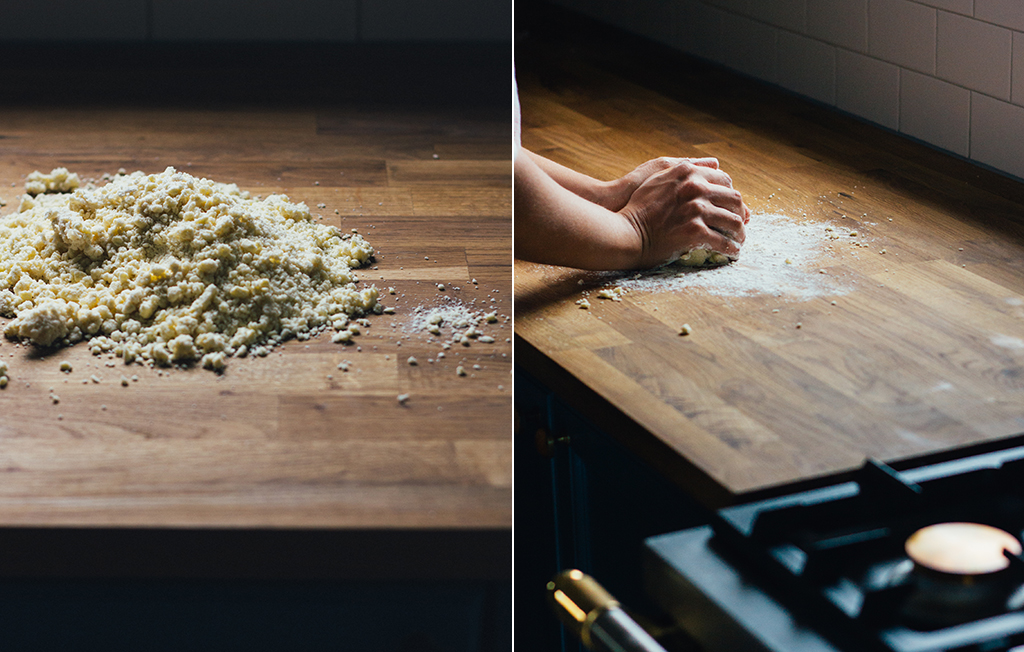
That’s right! There, in the bottom right corner, is a little glimpse of a new Lacanche Chagny! My husband and I have been working hard to transform our kitchen into a worthy home for the new range and we’re finally starting to see the light. Kitchen renos are no joke, especially when braving the DIY world and trying to figure out how to do (almost) everything ourselves. It’s finally coming together and I’m really excited to welcome our new friend into our improved kitchen and to be able to share the cooking adventures with all of you!
Let’s go back to the quiche. I’ve been making it for a number of years, but my biggest source of frustration has always been a shrinking crust. It wasn’t shrinking consistently, but often enough to limit my confidence in the recipe and techniques that I was using, bringing me to the ridiculous amount of quiche crusts that I baked over the past few weeks to try to figure it all out.
 Unfortunately, I don’t know that there’s that one magical solution to the shrinking problem. Some recipes call for vinegar in the crust to “relax the gluten”, others promise that resting or freezing the crust solves the shrinking problem. Those tips were helpful (though the vinegar didn’t make a difference), but there wasn’t just that one thing…. I went through many recipes and experimented with multiple techniques in pursuit of a consistent and flaky all-butter crust. So what worked? Lots of practice, attention to detail, with a healthy dose of patience. While I can’t really pass along weeks of crust-making practice to all of you, I will be sharing a more detailed recipe then usual, with side notes as well, to pass on what I’ve learned over the past few weeks. If you’re a quiche master, I’d love to hear some insight about what works well for you!

Ingredients
- 1/2 cup (1 stick) unsalted butter
- 1 1/4 cup unbleached all-purpose flour + more for rolling out the dough
- 1/2 tsp. salt
- 2 tsp. sugar
- 5 Tbsp. ice water
- 2 Tbsp. butter
- 1-2 leeks (white and pale parts only), sliced (~3 cups)
- 6 eggs
- 1.5 cup milk
- 1 cup cream
- 1/2 tsp. salt
- 3 cups baby spinach
- 3 cups chopped sorrel
- leaves picked from a few sprigs of tarragon
- 3-4 Tbps. crumbled feta cheese, to taste
- chives and/or chive flowers, for garnish
- freshly cracked black pepper, for garnish
Directions
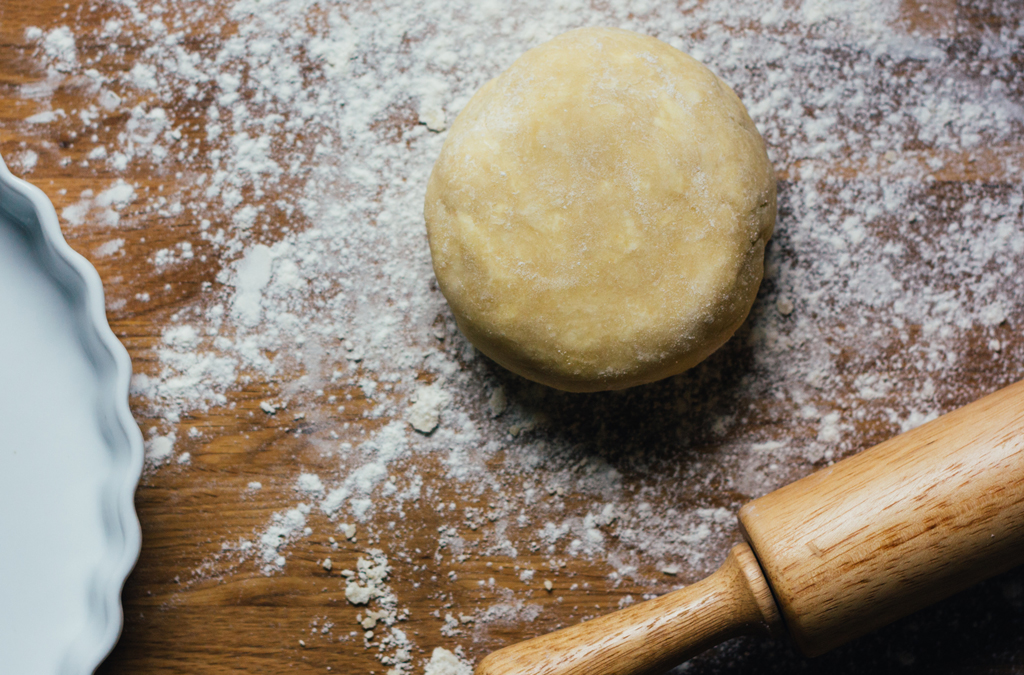
- Let's start making the crust! For an all-butter super flaky crust, it's really important that your butter is really cold (I prefer frozen) and that you use ice water. Cut the stick of butter into small cubes and freeze, until solid.
- Combine flour, salt and sugar in a food processor and pulse a few times.
- Add the frozen butter cubes and process until the largest pieces of butter are pea-sized. Don't over-mix, as the butter chunks are key to a flaky crust.
- Start adding the ice water, one tablespoon at a time, with a few pulses in between each addition.
- Pulse a few more times once you're done adding the water. The dough, at this point, will resemble coarse crumbs.
- Empty everything out onto a well-floured surface and use your hands to bring all the crumbs together into a large clump of dough. Work quickly, as you don't want to melt all the butter, but you will find that the warmth of your hands will help bring everything together in about 30 seconds.
- Gently work the dough, just until you're able to shape it into a semi-smooth ball.
- Flatten the ball into a disk, wrap it with plastic, and refrigerate for at least an hour and up to a few days. See note on resting the dough.
- Once you're ready to roll out the dough, generously flour a surface and start rolling it, paying close attention to getting it to form a circle with even thickness. Don't worry if it's cracking on the outside, you can trim that later. For a 10" quiche pan that's 1" deep, roll out the dough to a circle that's at least 14" in diameter. Keep lifting the dough to make sure that it's not sticking to the surface, adding more flour as necessary.
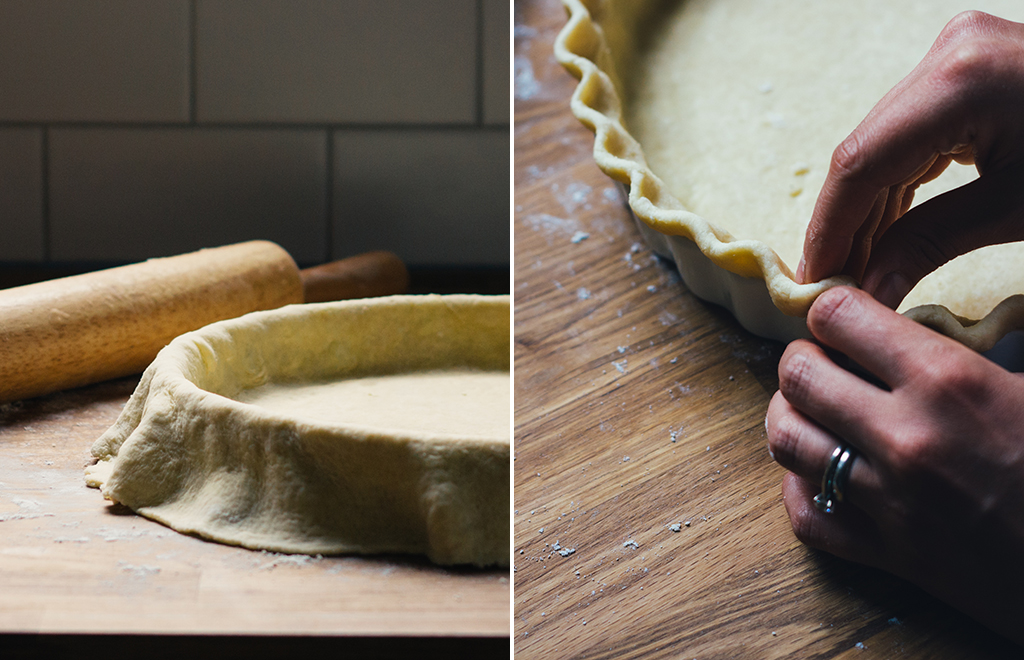
- Fold the crust in half, bring the quiche pan in, and lift the folded dough over half of the pan. Unfold it to cover the rest. Press the dough in, making sure that it's completely relaxed in the pan and that there is no tension.
- Trim the outside, leaving about 1" to hang over the quiche pan. Check that the thickness is even all around the pan and allow some more slack if any part seems a little thin.
- Fold the crust under around the border and refrigerate the shell for about 20 minutes to firm it up and make it easier to flute. See note on fluting the crust.
- Flute the crust, if you wish, but the most important thing is to have the crust come up above the pan edge and cling to the top of the pan, without sideways overlap. Make sure that it's even in height and thickness all the way around. Having an even crust is key to preventing shrinking.
- Use a fork to pierce many tiny holes at the bottom of the crust and then freeze it for about an hour to help it hold shape as it bakes.
- Preheat the oven to 375°F. See note on selecting the right oven.
- The most helpful part in avoiding a shrinking crust has been blind baking the crust using weights. You can substitute dried beans, but make sure that there are enough to completely cover the bottom and fill about half of the shell. Line the shell with parchment paper, to make the weights or beans easier to remove, and pour them in right before baking.
- Bake the crust for about 10-15 minutes, until you see the top of the crust getting puffy.
- Take it out, quickly and carefully remove the weights/beans, and put it back in the oven to bake for another 10 - 15 minutes, just until the bottom is cooked through. Don't overcook it at this stage, as it will contribute to shrinking and an over-baked crust.
- Remove the crust from the oven to cool slightly while you make the filling. If your crust shrank, adjust for less filling, as you won't be able to fill the entire dish.
- Melt the butter in a large saucepan over low heat and sauté the leeks with a pinch of salt, until soft and just starting to colour.
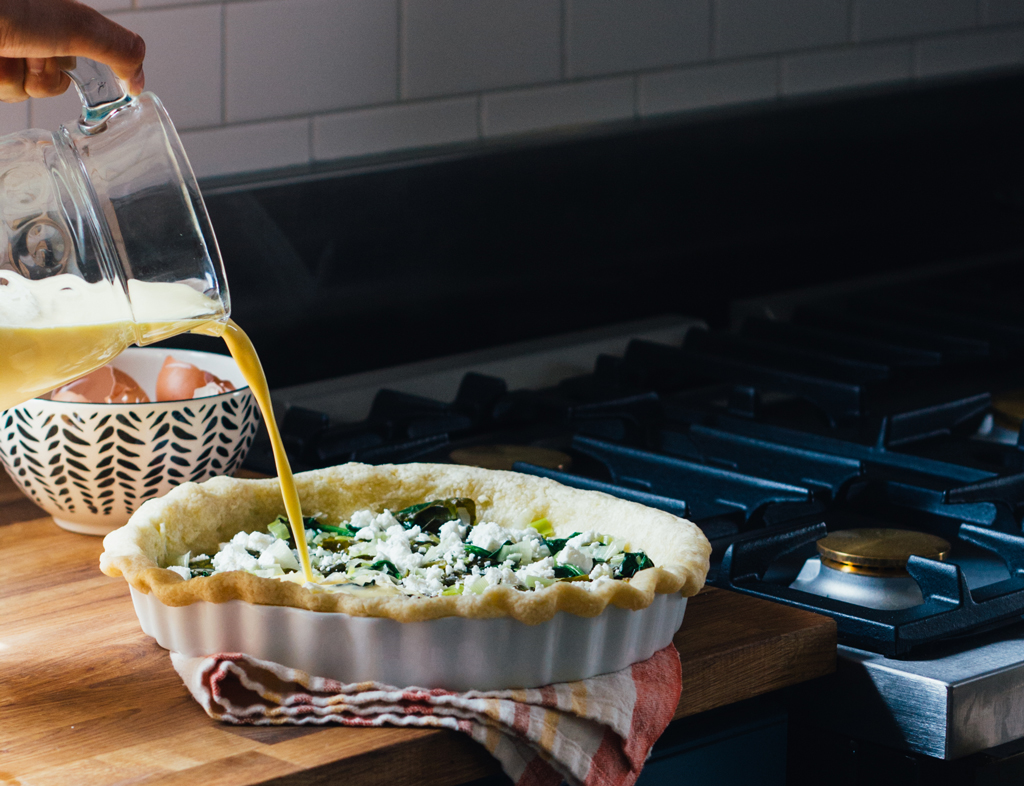
- In the meantime, combine the eggs, milk, cream, and salt in a blender and pulse to combine. See note on ratios.
- Add the baby spinach and chopped sorrel to the leeks, tossing the greens quickly to very gently wilt them without turning them to mush (sorrel has a funny way of doing that). Once they're wilted, place them in a fine-mesh sieve and gently press down with a wooden spoon to remove excess liquid.
- Arrange the greens at the bottom of the quiche shell. Add the feta and tarragon, reserving some for topping. Pour over the custard and arrange the remaining feta and tarragon on top.
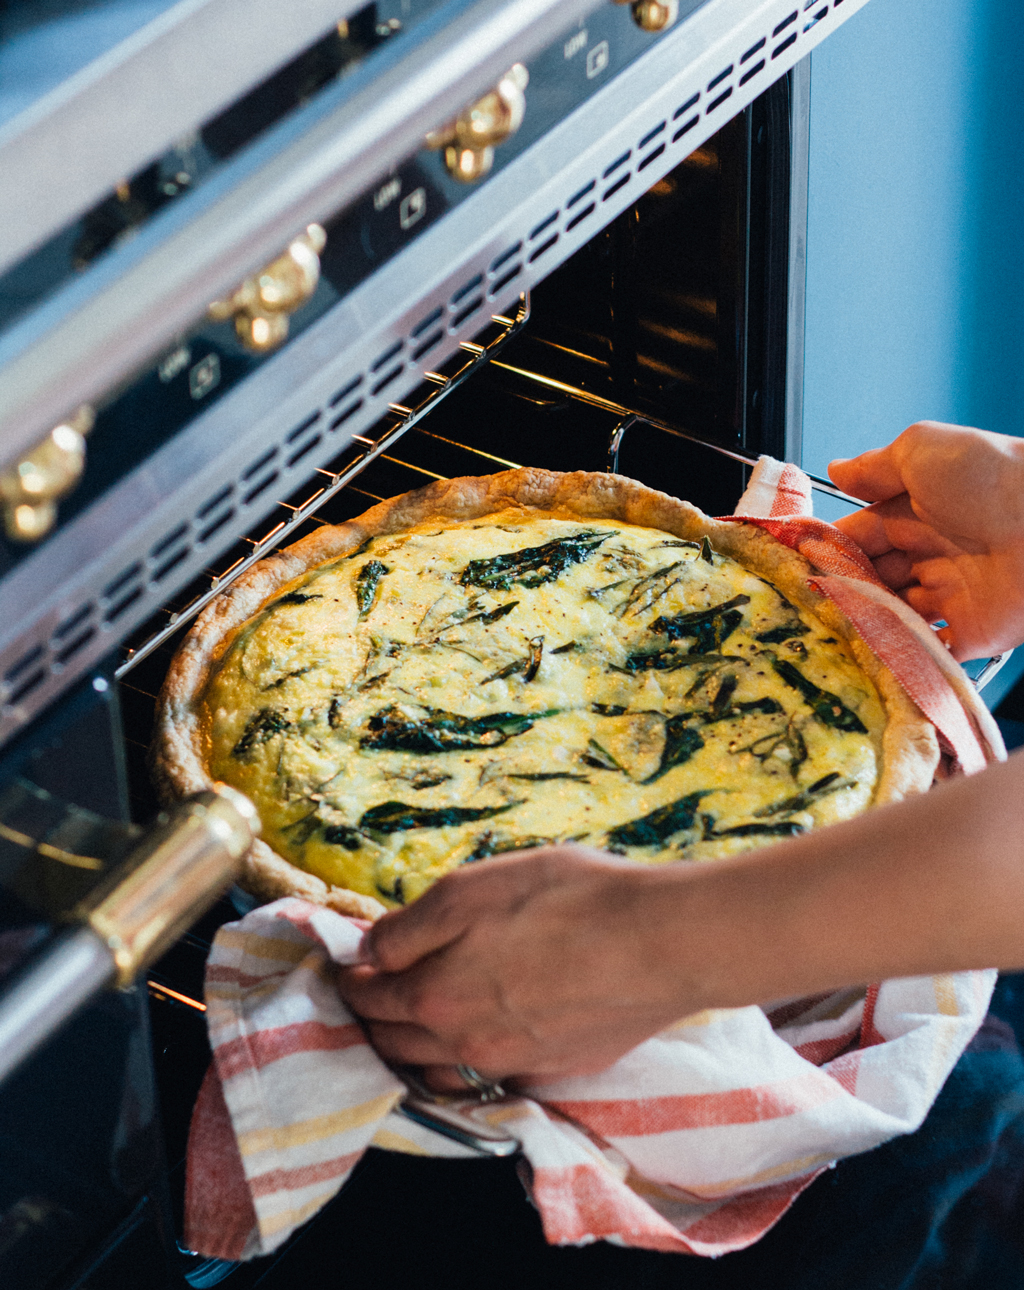
- Bake the quiche for about an hour (less if your shell is smaller or has shrunk), until the custard is set and the crust is golden brown. If your crust browns before the custard is set, lower the heat or turn the oven off completely, to allow the custard to gently finish cooking without burning the crust.
- Remove it from the oven and let it cool. It's easiest to cut when chilled, but best eaten warm. If you have the luxury of time, chill it and then reheat it in the oven when serving, otherwise, let cool to serving temperature before cutting.
- Garnish with chopped chives and/or chive flowers.
Notes
- Resting the dough: I did not find a difference in the final result when I tested different resting times, going from no rest, to resting the dough overnight. What I did find was that a chilled dough is much easier to work with and roll out evenly, which may have helped resolve the shrinking crust problem.
- Fluting the crust isn't really necessary, but I find that it helps the crust cling to the edges of the pan, without overlap.
- Selecting the right oven - I loved baking the crust and quiche in the gas oven! While it works in the electric oven as well (my Chagny has both), the moist heat in the gas oven was great for baking the shell evenly without browning the crust prematurely.
- Quiche ratios - A classic quiche custard is made with eggs, milk and/or cream, and salt. My quiche is a little eggier than normal, as I like a firmer custard, with about 40/60 cream/milk ratio. Feel free to play around with the ratios to suit your taste, but make sure to use at least 4 eggs and have a total of about 4 cups of custard for a 10" pan that is 1" deep. Adjust for a different pan size if necessary.
- Don't be put off by the total time! It's just a heads up to make the quiche about half a day before serving. Most of it is chilling the crust components.


Crispiest crust ever, almost shatteringly crisp, a nice change from my usual. I used goat cheese because it’s less salty. Very nice tang w/ the sorrel & goat cheese. Making it again tonight for a treat.
Pingback: Foraging for Sheep’s Sorrel | Curious By Nature